

Here you will learn how to make homemade hard cider. We will be using store bought cider and adding yeast for fermentation.
Below you will find step-by-step directions along with a complete video of the process from start to finish.
Basics of how to make homemade hard cider
There are 4 basic steps to making cider:
- Gathering supplies
- Brewing
- Fermentation
- Bottling
Lets go over them each individually.
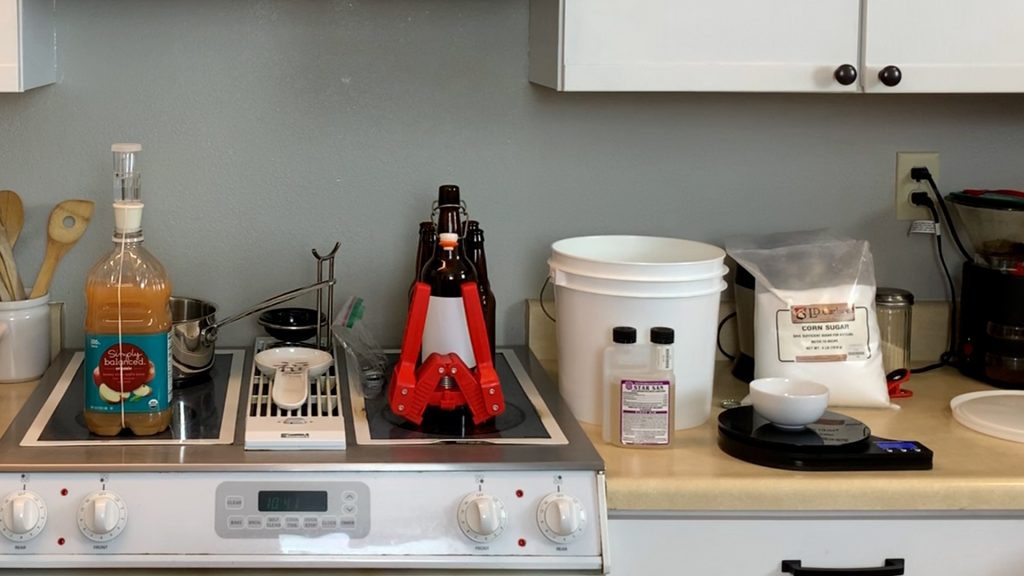
Gathering Supplies
First you will need to gather supplies. For supplies you will need 2 types.
- Ingredients
- Equipment
Ingredients – This will be your cider (juice) and yeast. For this step you can also add any adjuncts. Adjuncts are things like fruit or hops. Something else you would like to add to the cider for flavor. A popular adjunct for cider is fresh or frozen fruit such as cherries or blueberries.
List of ingredients:
- Cider
- Yeast
- Adjuncts like fruit
Equipment – This is the kettle, fermenter, hydrometer and other items you will use in the brewing process.
List of equipment:
- Kettle – This is what you will need to boil the cider in.
- Fermenter – The cider will ferment in this for 2 weeks.
- Airlock – Placed on top of fermenter to let gas out.
- Funnel or Fermentation bucket with spigot – Used for bottling the cider.
- Bottles – What you will fill with hard cider.
- Bottle caps – Create air tight seal for conditioning.
- Bottle Capper – Needed to crimp caps on bottles.
- Hydrometer/Refractometer – Used to measure sugar and calculate ABV.
- Sanitizer – StarSan or other brand used to kill bacteria.
- Priming Sugar – This is used to carbonate the cider during the bottling phase.
Brewing
This is where you get to let your creativity shine! Gathering all of your ingredients and equipment you will bring them together to make the cider.
First you will decide what kind of cider you want. For this example we are going to make a traditional cider with no added fruit or adjuncts.
Brewing steps:
- Place your kettle/pot on the stove.
- Fill your kettle with cider.
- Take a small sample of the cider to test the gravity. Using your hydrometer of refractometer.
- Bring your cider to a boil. You don’t have to do this step if your cider is store bought and in a sealed container.
- Cool the cider to room temperature.
- Add the cider to the fermenter.
- Pitch the yeast.
- Add your air lock to the fermenter.
- Wait 2 weeks for the fermentation to complete.
Fermentation
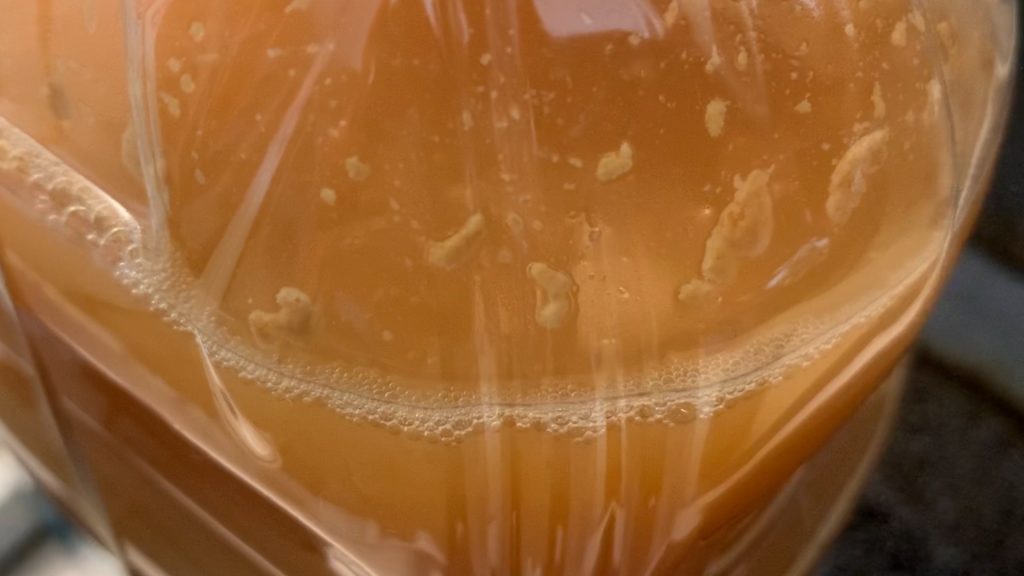
During this phase of the brewing process you won’t actually do anything. All you are doing is checking on the cider for the next two weeks to make sure the fermentation process is working. You can tell because there will be bubbles forming on top of the cider and for a few days the airlock will be bubbling as well. This is normal.
Bottling the Cider
Once the fermentation is complete it’s time to bottle the cider and let it condition. We will need some equipment for this.
Here are the items needed for bottling the cider:
- Bottles
- Bottle caps
- Bottle capper
- Priming sugar
- Hydrometer
- Fermented Cider
Now you will need to add priming sugar to the cider, bottle the cider and cap them. Let’s walk through the process.
First you will need to transfer the cider from the fermenter to the bottling bucket.
Second you will need to add priming sugar to the cider. This sugar will give the yeast something else to eat so it can create the carbonation.
You add the priming sugar by taking a small amount of your cider. A cups worth will do. Then you heat it up until it is completely dissolved. You will then add it back to the cider and mix it in gently without agitating the brew.
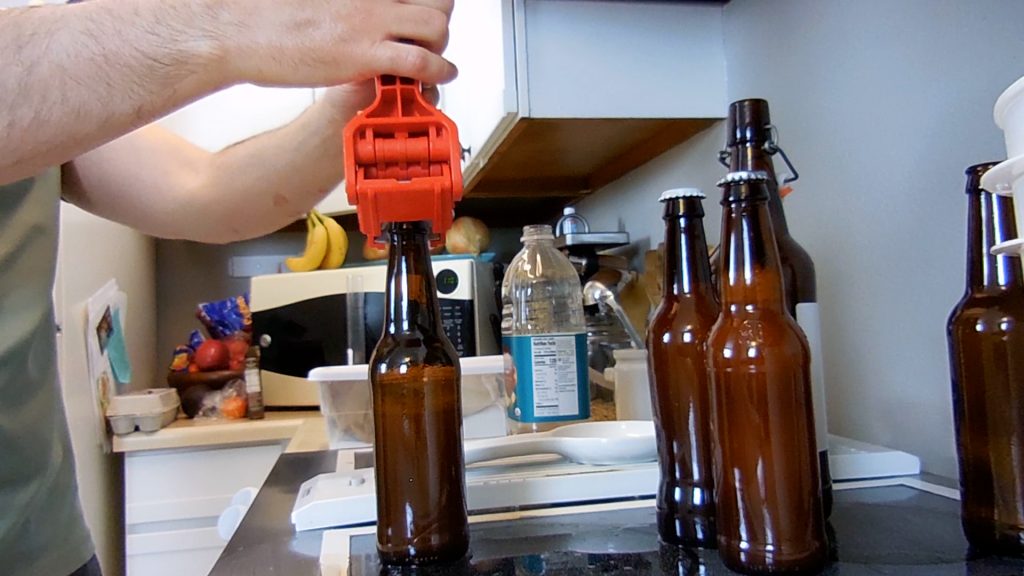
Now that your cider is ready you can prep the bottles.
For this you will use the sanitizer and completely sanitize the bottles, caps and capper. Once clean you will add the cider to the bottles and cap them.
Bottling continued
If you have a large batch of cider you will use a fermenting bucket with a spigot. In this case I simply used a funnel and poured the cider in slowly as to not agitate it or introduce any oxygen.
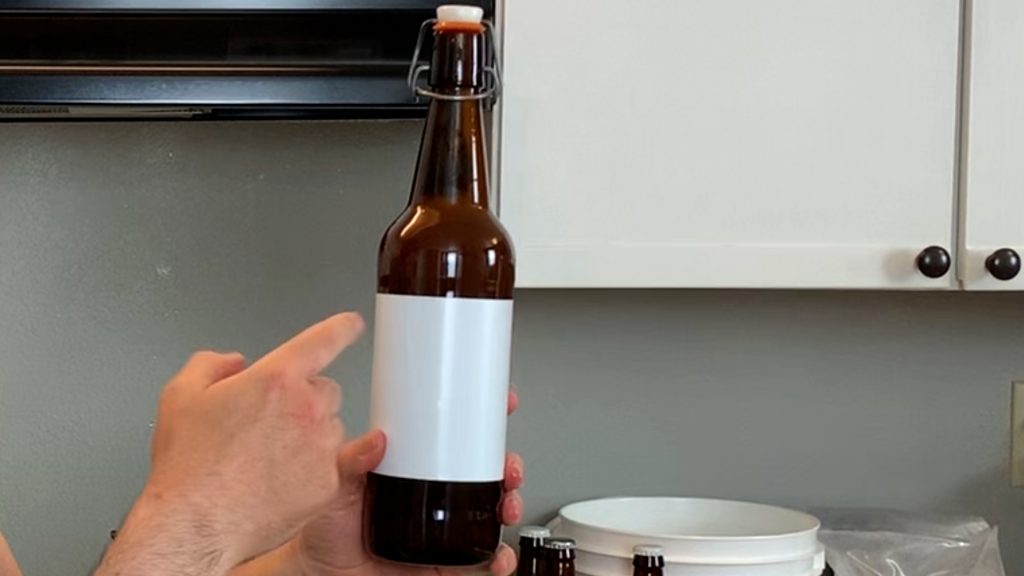
Another option for bottling is to use flip top bottles like the one below. Simply add the cider and close the top.
After you have bottled the cider you will need to wait at least 2 weeks before drinking it. This will allow enough time for it to carbonate.
Place the bottles in a cool dark area such as the pantry. Place in the fridge a day before drinking.
Step-by-Step Video Directions on how to make homemade hard cider
If you liked this try making hopped cider!
Be sure to check out the rest of the website for more homebrew tutorials.